Set cost and expiry
Catalog administrators set the monthly cost and the expiry date of each request in the builder. These values move from approved requests into the ledger, where they feed cost totals and revocation at expiry.
Set the monthly cost
Section titled “Set the monthly cost”Under “Cost” in the builder, choose one of three options.
| Option | How the monthly cost is set |
|---|---|
| None | No cost is recorded |
| Fixed | The amount in “Monthly cost (JPY)”. Every request has the same amount |
| Form value | The amount the requester enters in the number field chosen in “Cost field” |
- In the “Builder” tab, choose “Fixed” under “Cost”. The “Monthly cost (JPY)” box appears
- Enter the amount and press “Save changes”. The screen shows “Saved.”, and the amount appears in the “Fixed monthly cost” column of the catalog list
To use a form value, create a field of type “Number” first. “Cost field” lists only number fields. Without one you cannot choose anything, and saving shows “The JSON could not be validated. Fix it before returning to the builder.” The “SaaS request” and “Expense pre-approval” templates already use a form value.
The builder supports JPY only. Write other currencies, a note (note) or a unit (per) in “cost_model JSON (leave empty if unused)” in the JSON tab. These keys are kept when you edit the item in the builder again.
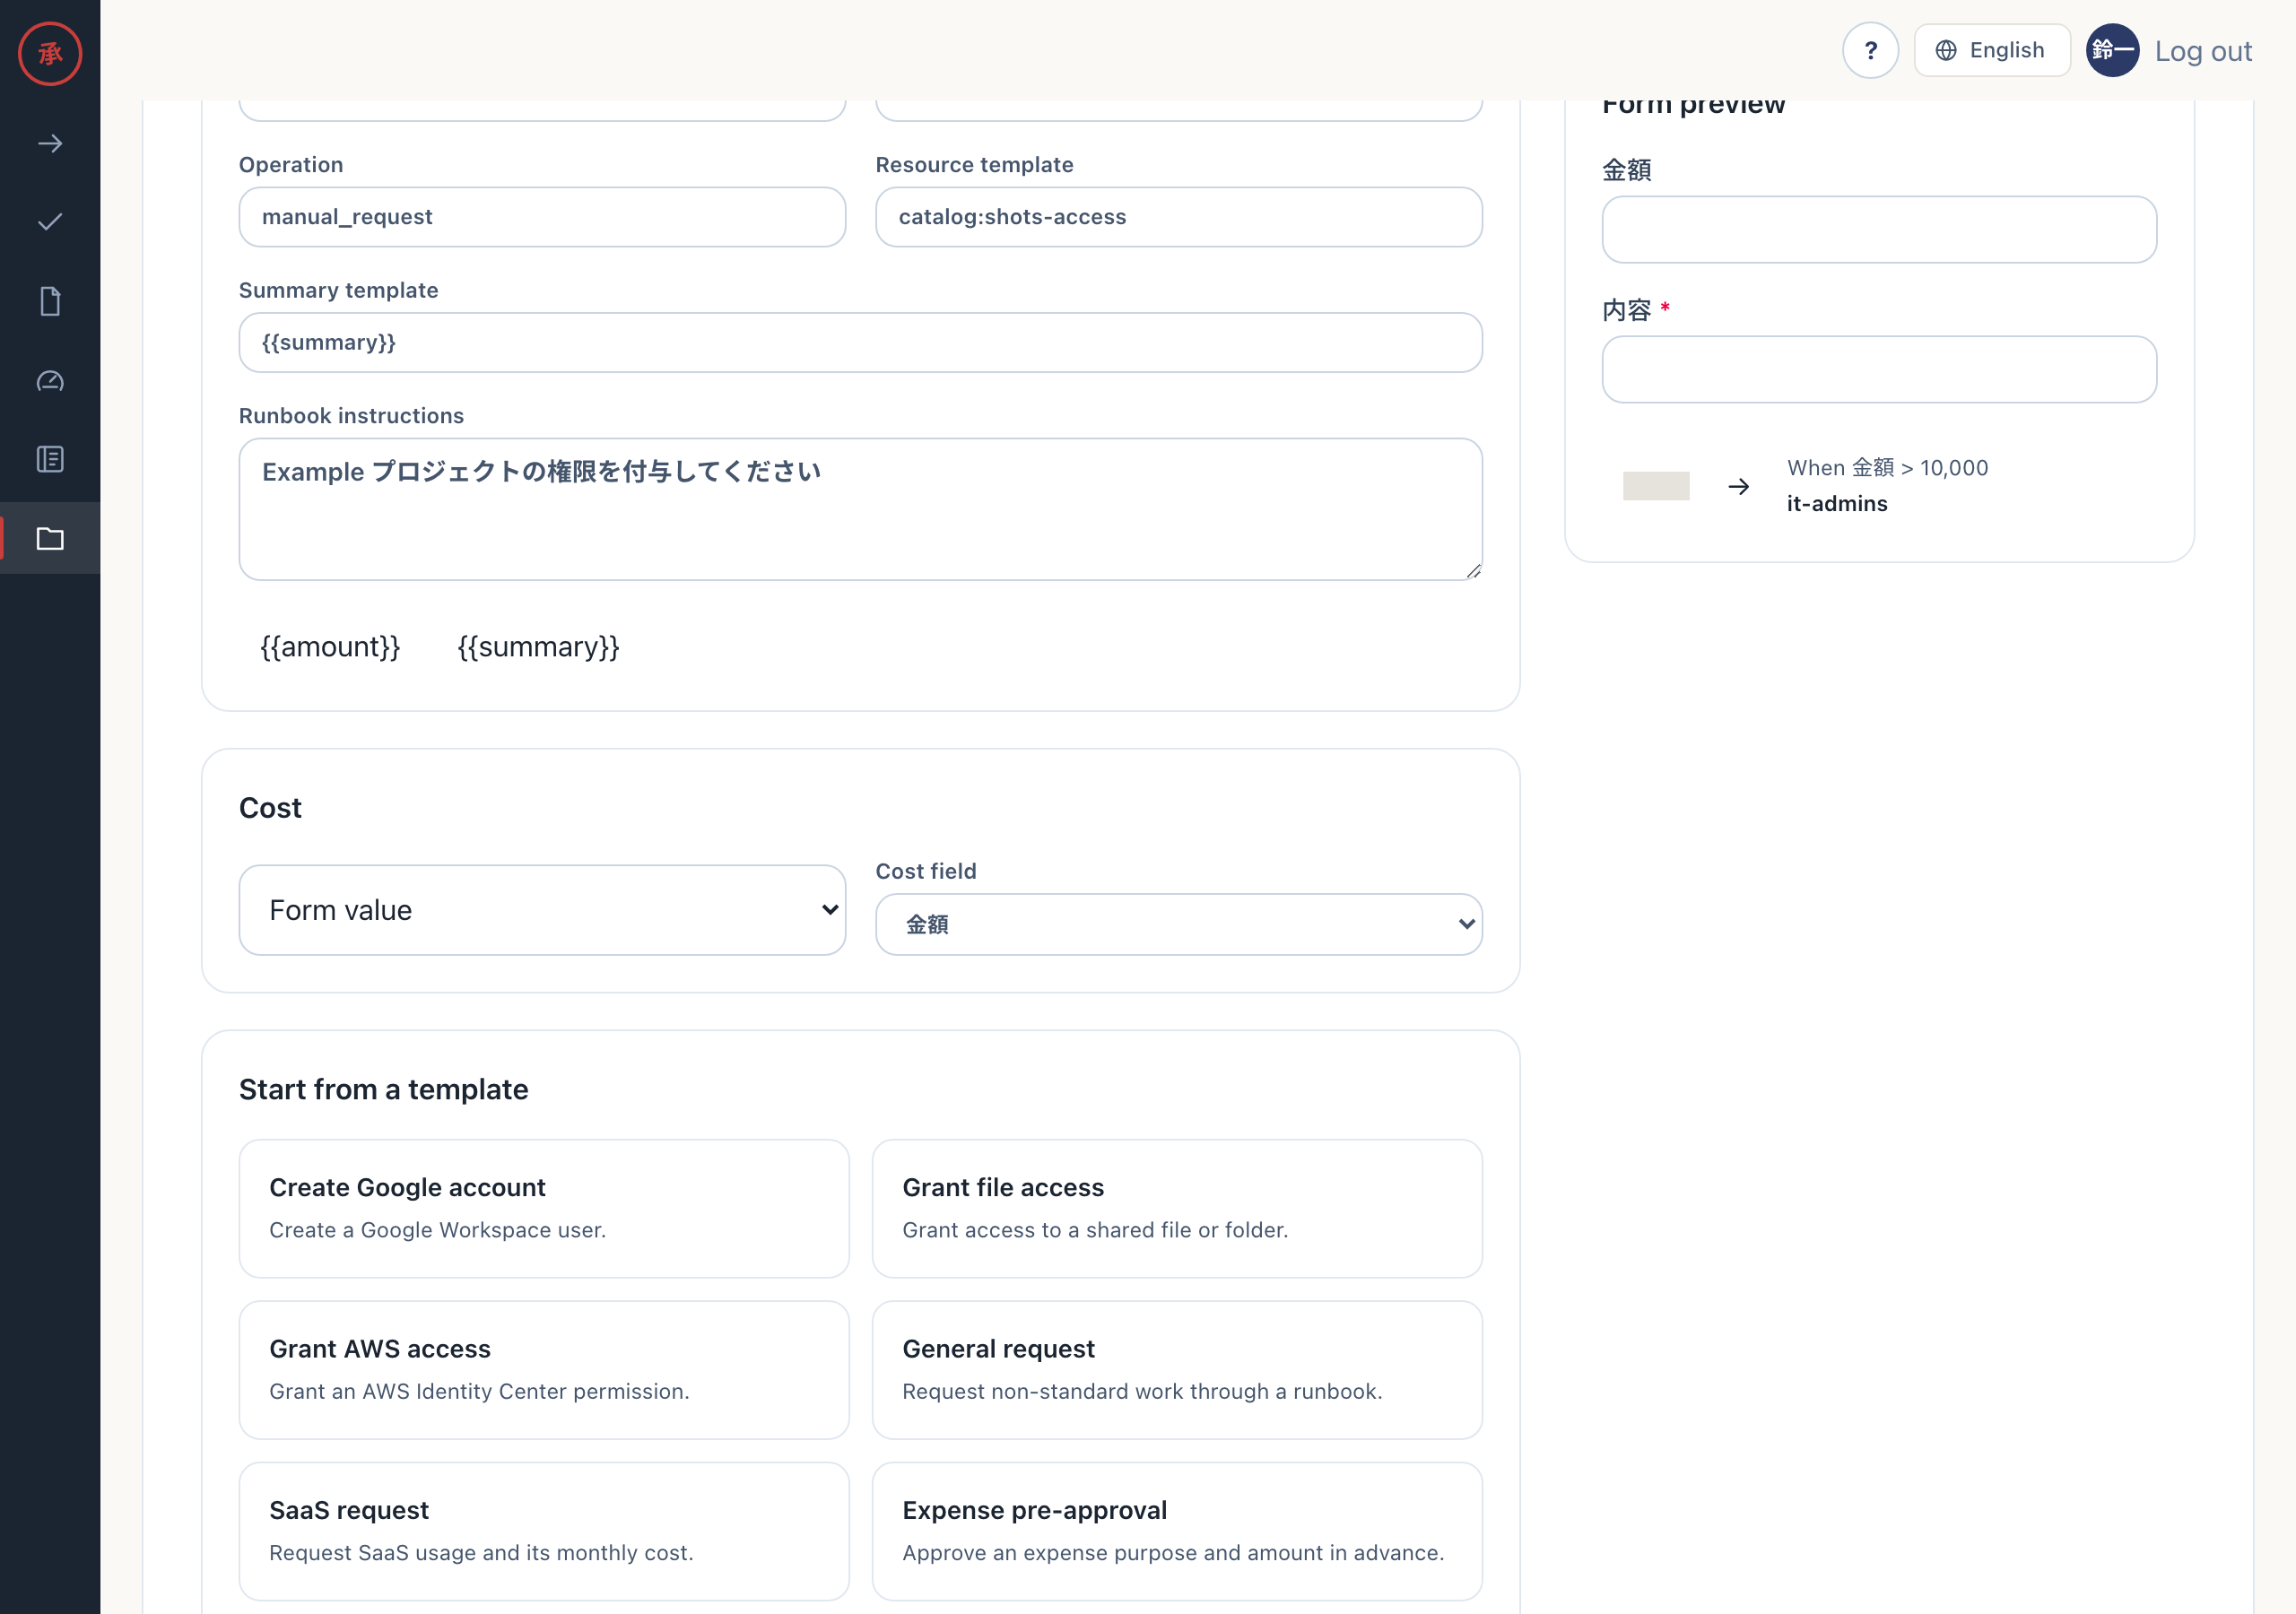
The monthly cost is calculated when the request is created and goes into the execution plan. When execution completes, the issued item appears in the ledger (/ws/ledger) and is counted under “Monthly”.
Add an expiry date
Section titled “Add an expiry date”An expiry date is a date field with a fixed key.
- Under “Form fields”, press “Add field” and enter 利用期限 in “Field label” (or “Expires at”). “Field key” becomes
expires_at - Set “Type” to “Date”. Tick “Required” if every request must have an expiry date
- Press “Save changes”. The screen shows “Saved.”
Only a field with key expires_at and type Date counts as the expiry date. With a different key, or with type Text, the value is just another input and nothing is revoked. If the field is optional and left empty, the issued item has no expiry.
From request to ledger to revocation
Section titled “From request to ledger to revocation”The expiry date the requester enters is carried forward in this order.
- When the request is created, the expiry date goes into the execution plan together with the monthly cost. “What happens next” on the request detail screen shows “Notice date” and “Revocation date”, or “No expiry” when there is none
- When the request is approved and execution completes, the issued item appears in the ledger. Its row shows the expiry date
- Three days before expiry, the owner receives a notice
- After the expiry date, revocation starts. Items granted through a connected system are revoked automatically. Items granted through a runbook become a revocation task for the execution group
Actagate has no background jobs. Notices and revocations are processed when someone uses the web app or Slack, so they can start a little after the exact expiry time.
For revocation settings of each connection, see Connect to AWS IAM Identity Center.