Build form fields
Catalog administrators define what requesters fill in under “Form fields” in the builder. Route conditions and execution settings read these values, so settle the field keys before you build the route and the execution.
Field types
Section titled “Field types”The “Type” menu has ten options.
| Type | What the requester enters | Typical use |
|---|---|---|
| Text | One line of text | Destination, email address, target resource |
| Number | A number | Amount, years. Usable in route conditions and cost |
| Date | A date | Start date, end date, expiry date |
| Select | One option from a list | Permission level. Usable in route conditions |
| Multiple choice | Several options from a list | A list of targets |
| Yes / no | A checkbox | Confirming an agreement |
| Amount | A number with a currency | An amount in a given currency |
| Member | One member | The person the request is for |
| Description | Nothing (shows text) | A note for the requester |
| Section heading | Nothing (shows a heading) | Grouping fields |
For Select and Multiple choice, list the values in “Options (comma-separated)”. Description and Section heading hold no value, so they cannot be required and nothing can reference them. In the builder, route conditions accept only Number and Select fields, and cost accepts only Number fields.
There is no separate type for an expiry date. It is a Date field. A field with type “Date” and field key expires_at is treated as the expiry date. See Set cost and expiry for details.
Add a field
Section titled “Add a field”There are five steps.
- On the create or edit screen, open the “Builder” tab and press “Add field” under “Form fields”. An empty field appears at the end of the list
- Enter the name requesters will read in “Field label”. While the catalog language is “Japanese (default)”, “Field key” fills in as you type
- Check “Field key” and change it if needed, using lowercase letters, digits,
_and-. Some common Japanese labels map to fixed keys (for example 利用期限 becomesexpires_atand 金額 becomesamount). A label in English becomes its lowercase form with_between words, so “Expires at” becomesexpires_at. A label that cannot be converted becomesfieldorfield_2 - Choose a “Type”. Tick “Required” for fields the requester must fill in. In the “Form preview” on the right, required fields show a
* - Reorder fields with “Move up” and “Move down”. The preview order is the order of the request form
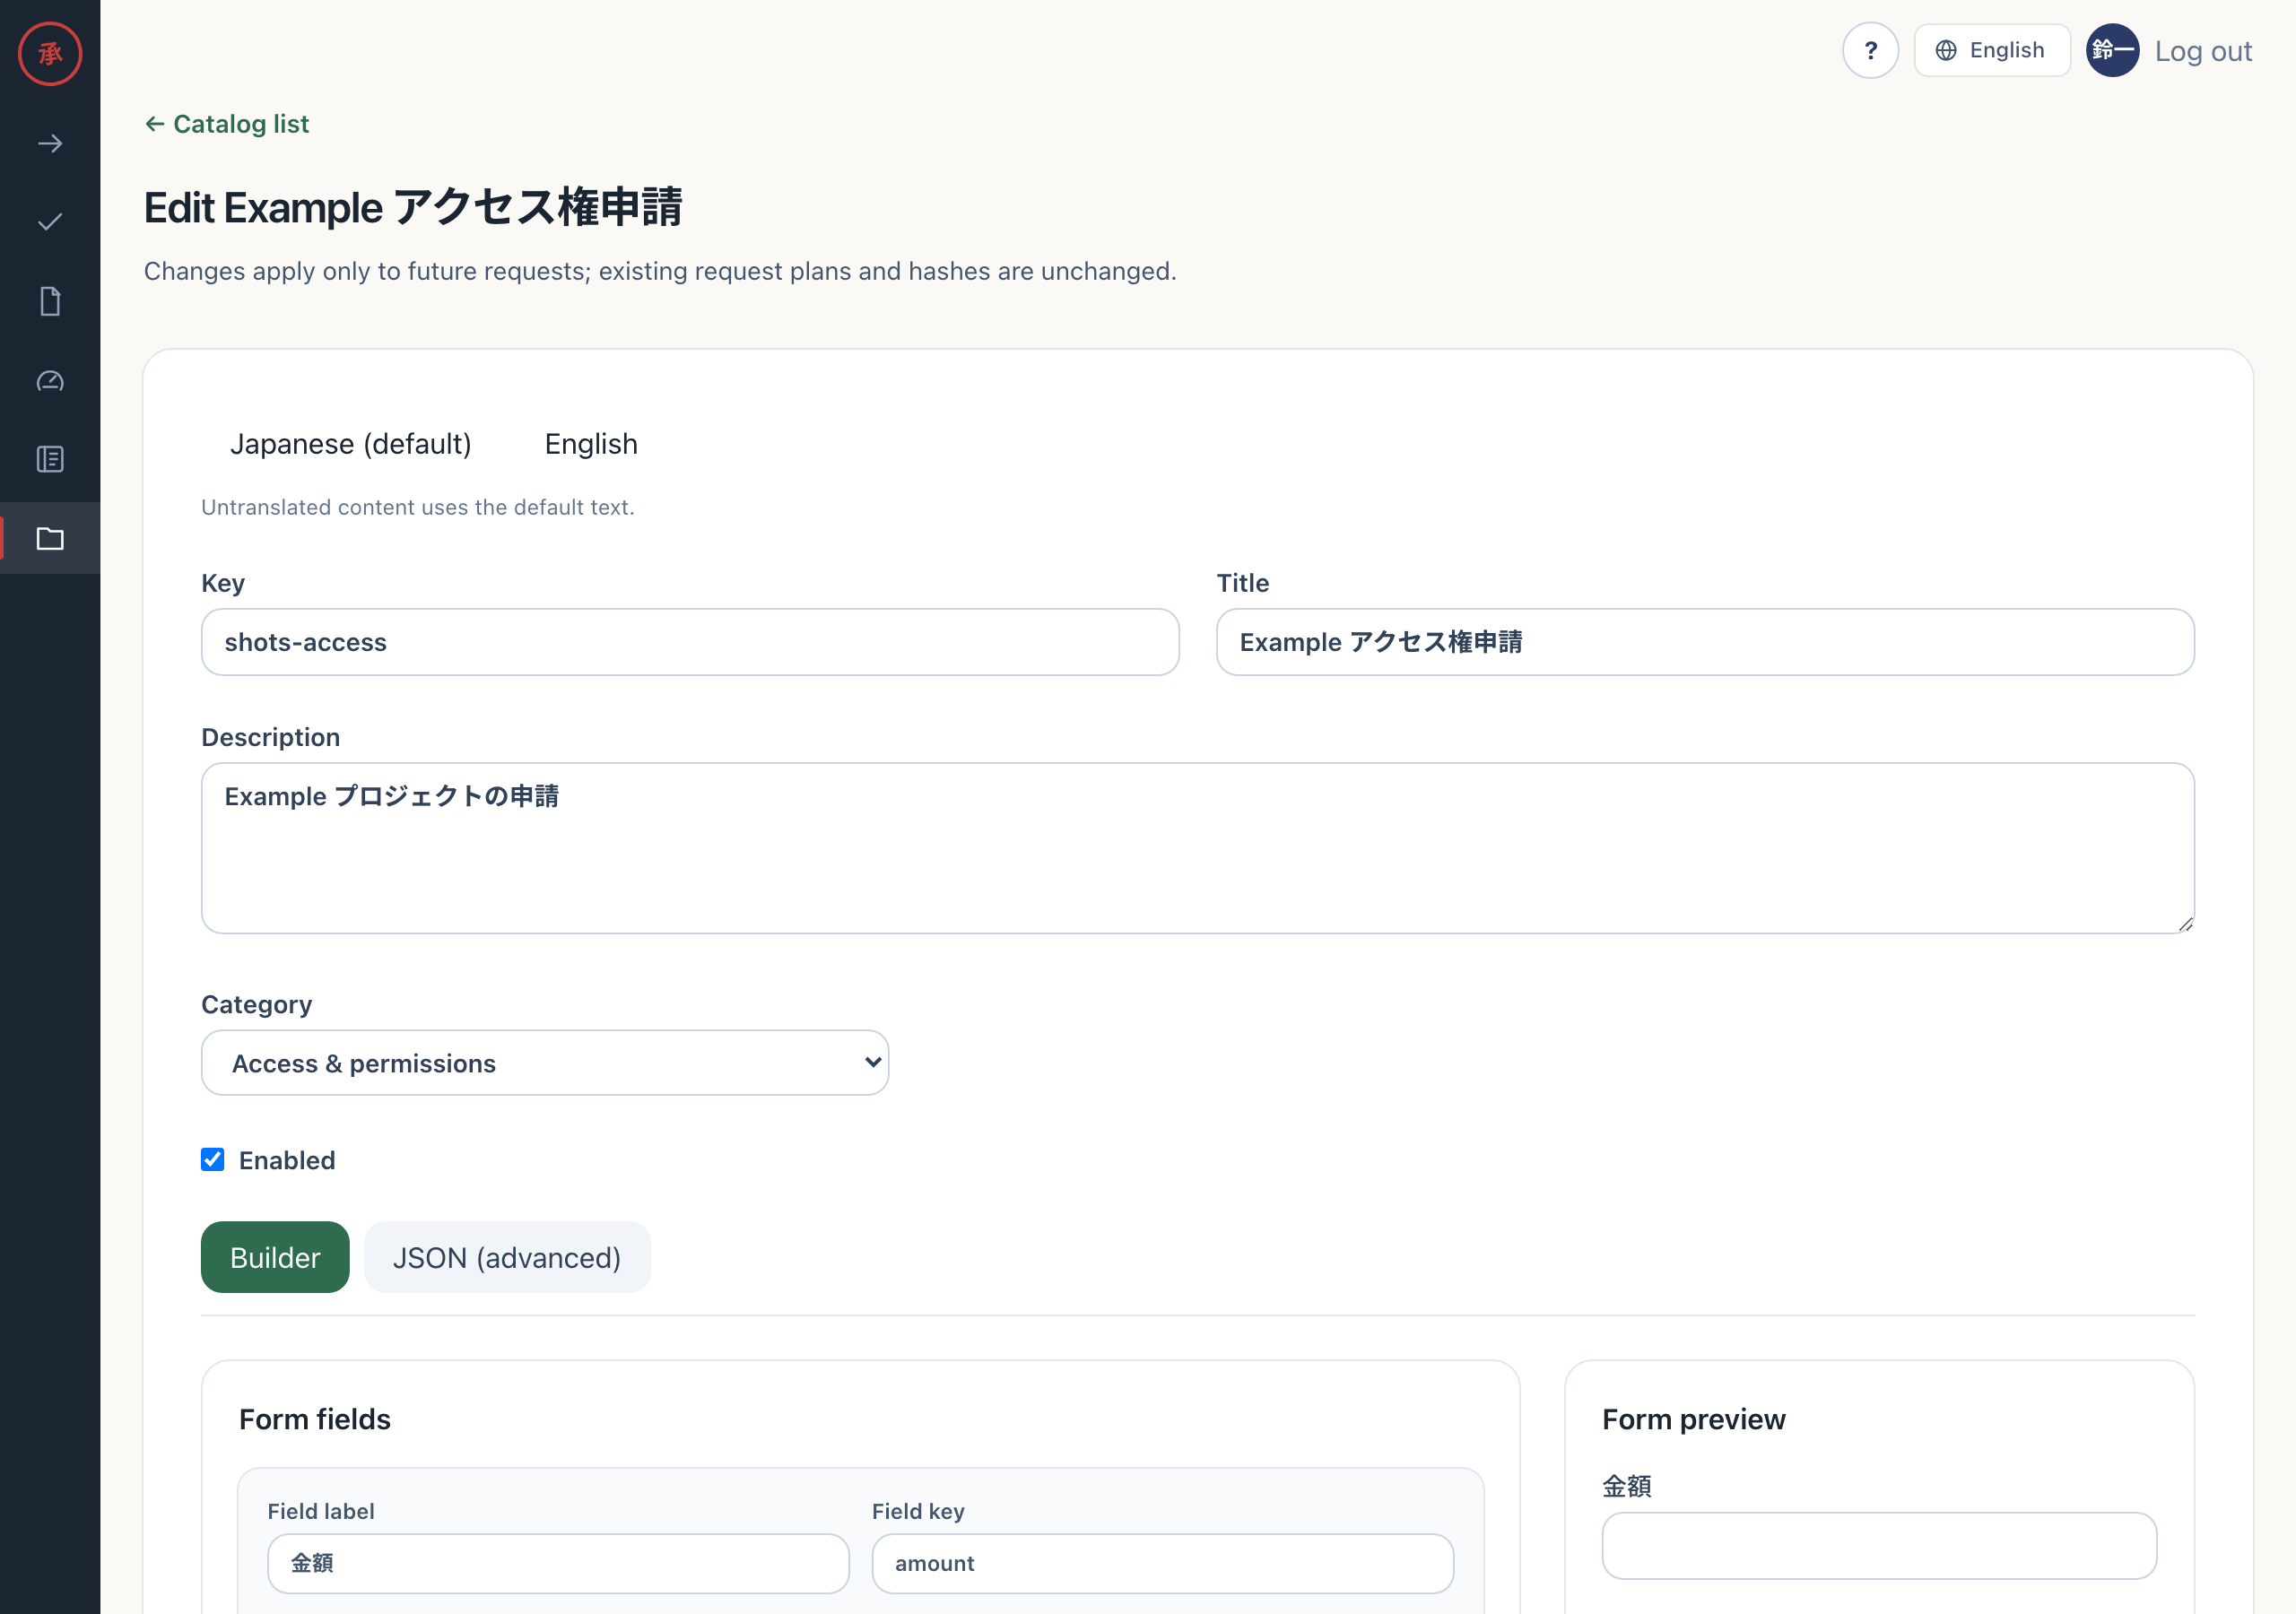
Changing a label in the default language also changes the key. If other settings reference the field, check the key before you save. English labels go in the “English” language tab, and that tab never changes the key.
Each field can also have “Show when” and “Validation” settings. A field with a show condition appears on the request form only when the condition holds. Validation sets a regular expression, minimum length and maximum length for text, and a minimum and maximum for numbers and amounts.
Reference form values
Section titled “Reference form values”Other settings read a form value as {{key}}. For example, the field with key email is {{email}}. Write the key in lowercase, exactly as it appears in the field settings.
| Where you can reference | Example |
|---|---|
| “Resource template” under “Execution” | google:user:{{email}} |
| “Summary template” under “Execution” | {{destination}} |
| “Runbook instructions” under “Execution” | Create the account for {{email}} |
| “Form value” under “Cost” | Pick a number field in “Cost field” |
Under “Execution” there is a button for each field (such as {{email}}). Pressing it appends the reference to the summary template. The server checks the referenced keys every time you save. When a request is created, each reference is replaced by the requester’s value and written into the execution plan.
Remove a field that is still referenced
Section titled “Remove a field that is still referenced”If you remove a field that something still references, the catalog item cannot be saved. A reference never turns silently into an empty value. Saving always stops.
- Open a catalog item that references
{{email}}on the edit screen and press “Remove field” on theemailfield. The field disappears from the builder - Press “Save changes”. The screen shows “The action could not be completed.” and the saved catalog item stays as it was
- Remove
{{email}}from “Resource template”, “Summary template” and “Runbook instructions”, or add a field with the same key again. Then press “Save changes”. The screen shows “Saved.” when it succeeds
If saving still fails, check “action JSON” in the JSON tab for a leftover {{email}}. If the same error happens on the create screen, what you entered is not kept, so fix the references and create the item again. If you write a key that does not exist in the JSON tab, the screen shows “The JSON could not be validated. Fix it before returning to the builder.” when you leave the tab or press save, and nothing is saved. The last remaining field cannot be removed.