Set up SSO with SAML 2.0
This page is for organization owners and admins who want members to sign in to Actagate with a SAML 2.0 IdP account. You import the IdP metadata XML into Actagate, register the displayed SP values in the IdP, test the connection and then activate it.
Before you start, ask your operator to set WEB_BASE_URL. The SP metadata URL and the ACS URL are built from this value.
1. Create the app in the IdP
Section titled “1. Create the app in the IdP”- Create a SAML 2.0 app in the IdP admin console. The SP values are not known yet. If the IdP asks for them, enter temporary values
- Set the NameID format to persistent, with a value that never changes for a user. Transient does not work
- Send the user’s email address in the attribute
email(ormail) - Turn on assertion signing and use SHA-256 for the signature and digest
- Assign the app to the admin who will run the test and to the members who will sign in
- Download the IdP metadata XML
These attribute names also work for the email address:
http://schemas.xmlsoap.org/ws/2005/05/identity/claims/emailaddressurn:oid:0.9.2342.19200300.100.1.3
Actagate treats the email attribute of a signed assertion as a verified address for the first link. Configure the IdP so that users cannot claim someone else’s email address.
Metadata that is rejected
Section titled “Metadata that is rejected”The following metadata cannot be imported and returns saml_invalid_xml or saml_invalid_metadata.
- XML with a DOCTYPE or ENTITY declaration
- XML larger than 256 KiB
- A root element other than EntityDescriptor (for example, an EntitiesDescriptor that bundles several IdPs)
- No SSO URL with the HTTPS HTTP-Redirect binding (an IdP that offers only the HTTP-POST binding)
- No signing certificate, or three or more
SHA-1 is not allowed. If the signature or digest uses SHA-1, sign-in is rejected.
2. Add the connection in Actagate
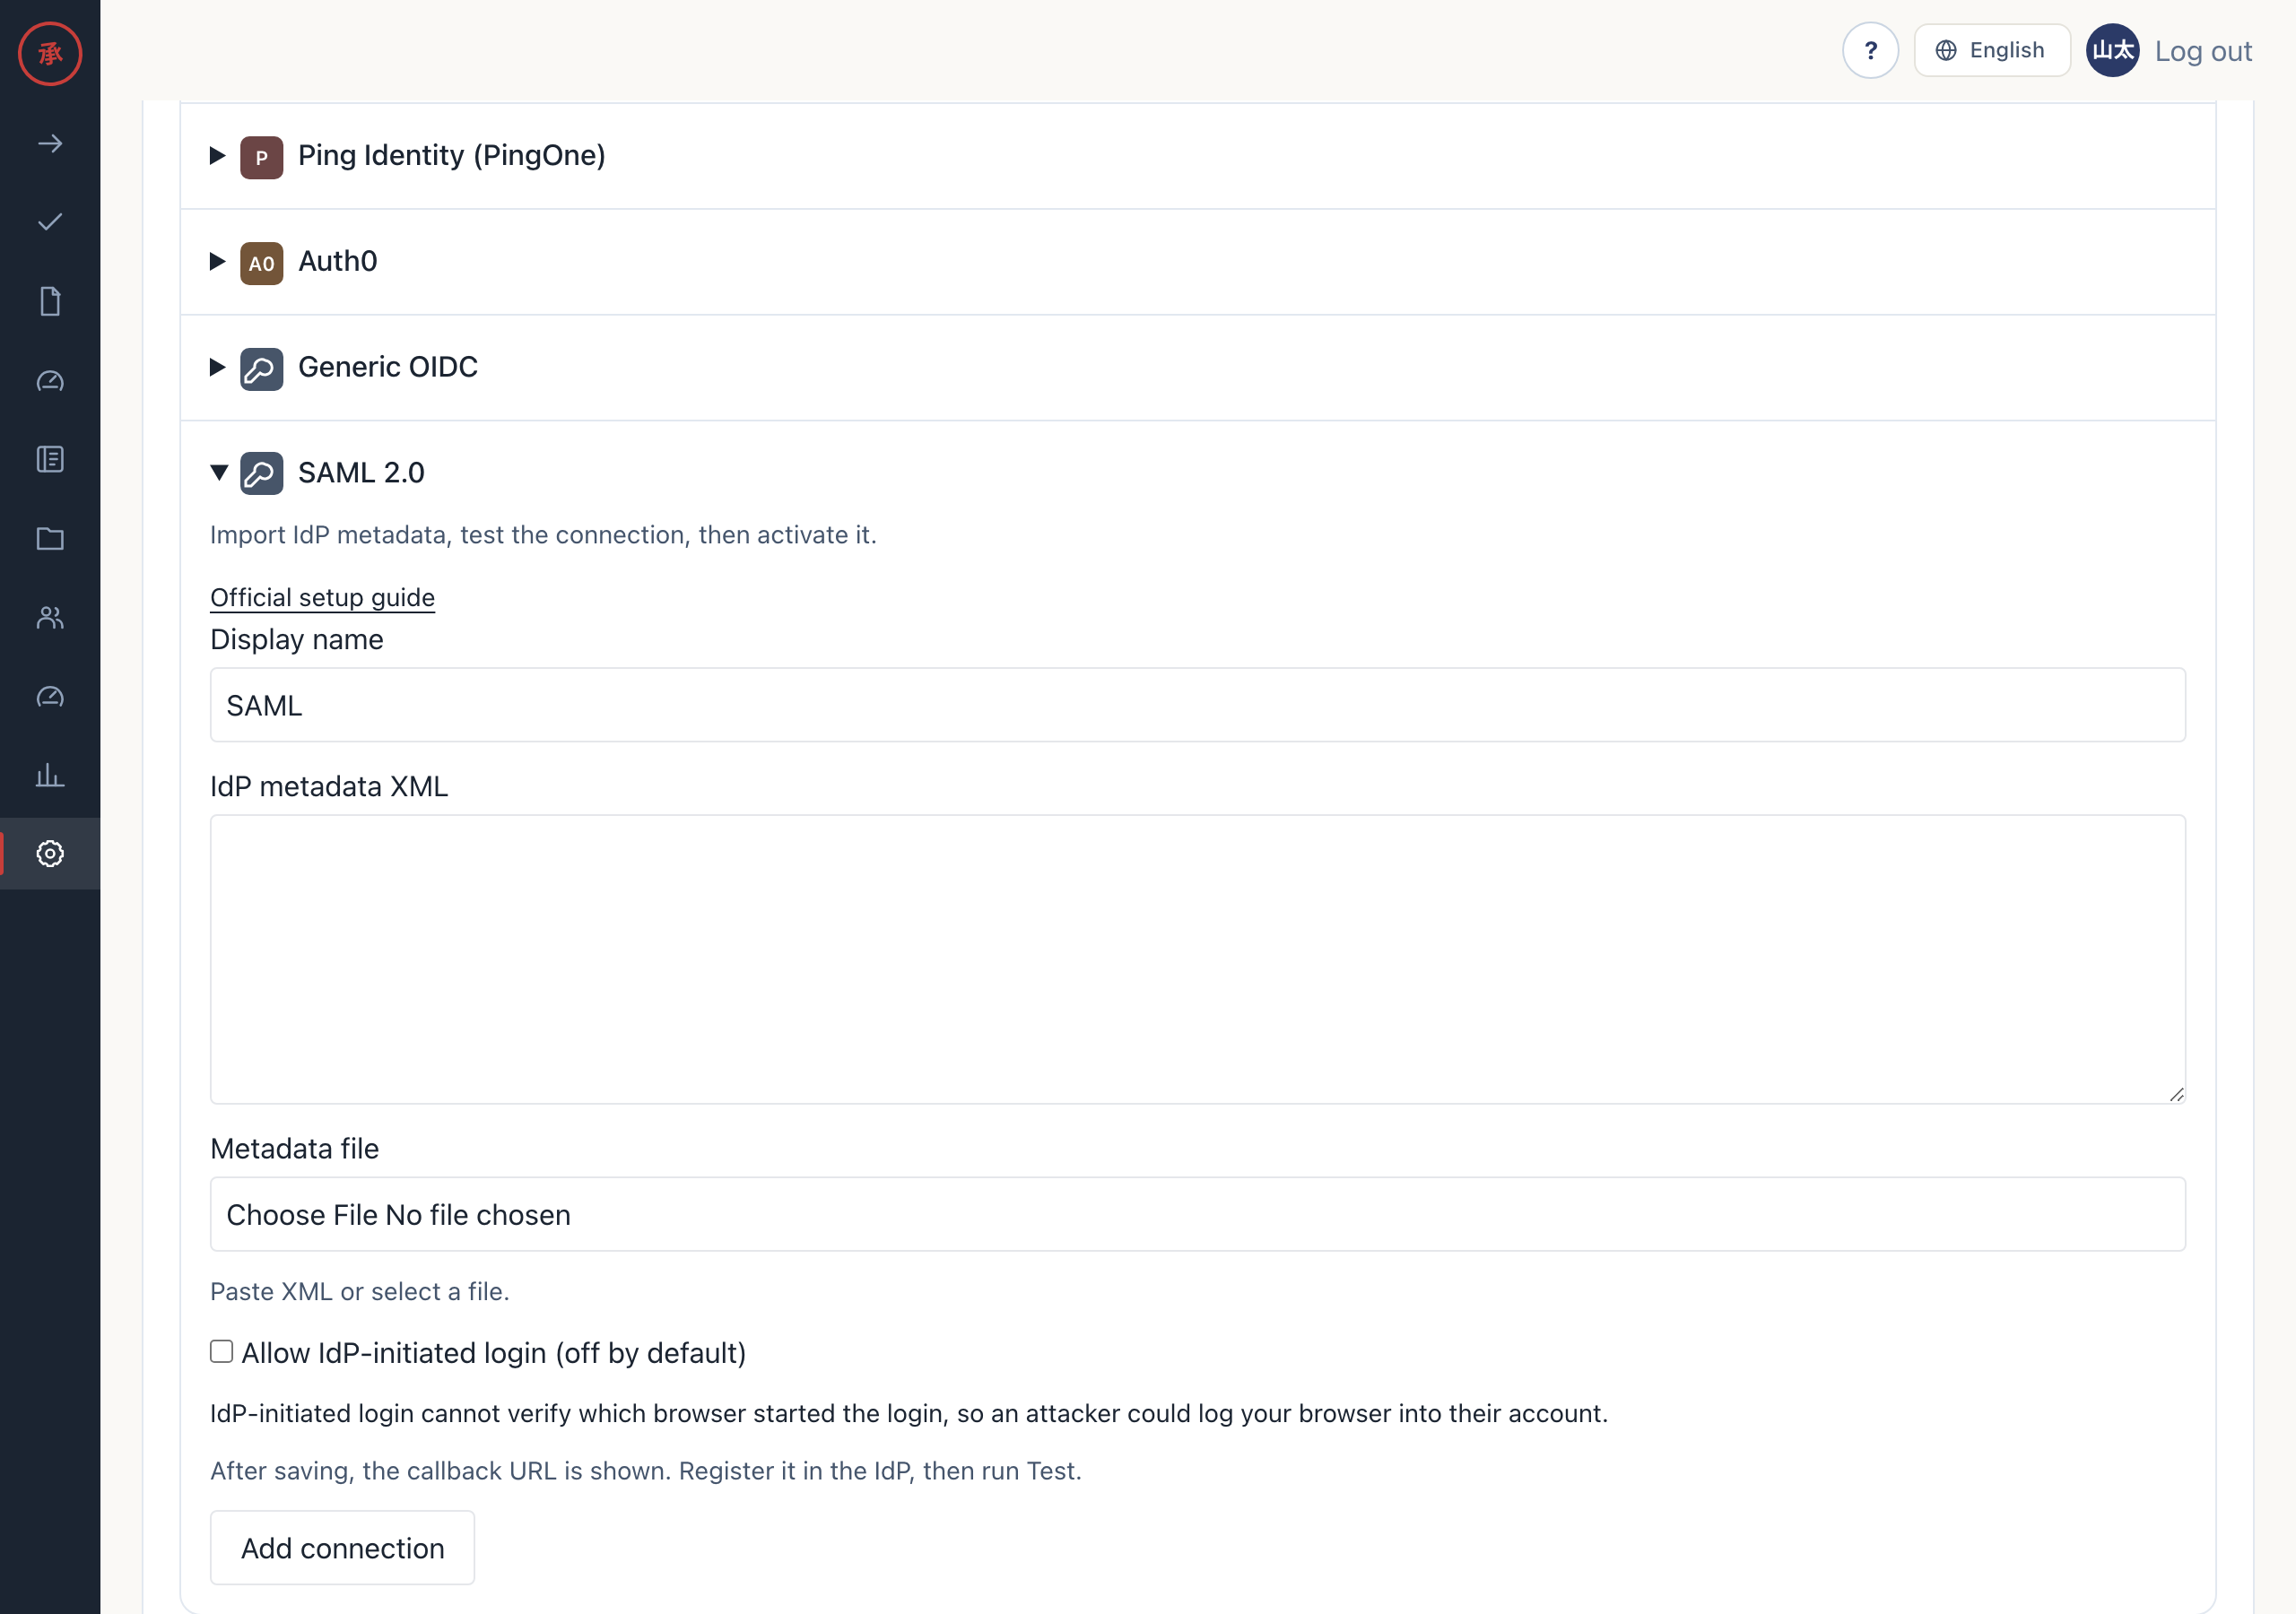
Section titled “2. Add the connection in Actagate”- Open Settings > Security (
/ws/settings/security). Under Single sign-on, in “Pick a provider to add a connection”, open “SAML 2.0”. The connection form opens - Enter “Display name”. Paste the XML into “IdP metadata XML” or pick the file under “Metadata file”
- Press “Add connection”. The screen shows “Connection saved.” and a new connection marked “Draft · Not tested” appears under “Connections”
3. Register the SP values in the IdP
Section titled “3. Register the SP values in the IdP”The saved connection shows the values to register in the IdP. <host> is the public URL and <connection ID> is the ID of the saved connection.
| Item | Value |
|---|---|
| SP metadata URL | https://<host>/api/auth/sso/saml/<connection ID>/metadata |
| SP entity ID | Same as the SP metadata URL |
| ACS URL | https://<host>/api/auth/sso/saml/<connection ID>/acs |
| ACS binding | HTTP-POST |
| NameID | persistent |
Use the displayed values as they are.
- In the IdP app, register the SP entity ID as the Audience and the ACS URL as the Destination and Recipient. If the IdP can read the SP metadata URL, give it the URL instead
- Set the assertion lifetime to 10 minutes or less and save. The IdP side is now ready
Clock skew of up to 2 minutes is tolerated. A sign-in request expires after 10 minutes.
4. Test
Section titled “4. Test”- Press “Test” on the connection. The IdP sign-in page opens
- Sign in with your own IdP account and come back to Actagate in the same browser. The screen shows “Test passed. You can activate the connection.” and the connection is marked “Test passed”
The test only checks authentication. It creates no user.
5. Activate
Section titled “5. Activate”- Press “Activate” on the connection. The screen shows “Connection activated. It is now available on the login screen.” and the status changes to “Active”
Changing the IdP entity ID, the SSO URL, the certificates or the IdP-initiated login setting clears the test result and returns the connection to draft. After a user has signed in through the connection, you cannot change the IdP entity ID. To move to another IdP, add a new connection.
IdP-initiated login
Section titled “IdP-initiated login”Sign-in that starts from the IdP portal (IdP-initiated) is off by default, for security. With IdP-initiated login, Actagate cannot check which browser started the sign-in, so an attacker could log your browser into their account. Turn it on only when you need it: under “Edit settings” on the connection, select “Allow IdP-initiated login (off by default)”, save and test again. An IdP-initiated response cannot complete an admin test. After an IdP-initiated sign-in, the user lands on /.
Renew the certificate
Section titled “Renew the certificate”The metadata can hold up to 2 signing certificates, so keep both during the switch.
- Create the new certificate in the IdP and export metadata that contains both the old and the new certificate
- Save that metadata under “Edit settings”, then test and activate
- Switch the IdP signing key to the new certificate
- Save metadata without the old certificate, then test and activate again
6. Check sign-in
Section titled “6. Check sign-in”- An invited member who is not an admin opens the login screen. A button labeled “Continue with
” is shown - The member presses the button and signs in with the IdP. The Actagate screen opens
Only on the first sign-in, Actagate matches the email attribute against the invited member’s email address and links the NameID to that member. From the second sign-in on, the NameID identifies the person, so the account stays the same when the email address changes. The first link never grants admin rights. Owners and admins sign in with an existing method first, then link the connection with “Add
7. Troubleshooting
Section titled “7. Troubleshooting”saml_transient_nameid: set the NameID format to persistentsaml_invalid_response: check that assertions are signed and that SHA-1 is not usedsaml_destination_mismatch/saml_recipient_mismatch: check that the ACS URL in the IdP matches the displayed valuesaml_idp_initiated: IdP-initiated login is not allowed. Start from the login screen, or allow IdP-initiated loginsaml_browser_mismatch: start again in the browser where you began
Other reason codes are listed in SSO troubleshooting.