Set up SSO with Auth0
This page is for organization owners and admins who want members to sign in to Actagate with their Auth0 account. You create a Regular Web Application in Auth0, add a connection on the Actagate settings screen, test it, and then activate it.
Before you start, ask your operator to set SSO_SECRET_ENCRYPTION_KEY and WEB_BASE_URL (see Single sign-on basics).
1. Create the app in Auth0
Section titled “1. Create the app in Auth0”- In the Auth0 Dashboard, open Applications > Create Application and choose Regular Web Application. The app Settings open
- Enter the temporary value
https://<host>/api/auth/sso/callback/0in Allowed Callback URLs under Settings and save. The real URL is known after you save the connection in step 2 - Copy the Domain, Client ID and Client Secret from Settings
Official documentation: Auth0 application settings, OIDC discovery
2. Add the connection in Actagate
Section titled “2. Add the connection in Actagate”- Open Settings > Security (
/ws/settings/security). Under Single sign-on, in “Pick a provider to add a connection”, open “Auth0”. The connection form opens - Enter “Display name”, “Issuer URL”, “Client ID” and “Client secret”, then press “Add connection”. The screen shows “Connection saved.” and a new connection marked “Draft · Not tested” appears under “Connections”
- Copy the “Callback URL to register in the IdP” shown on the connection. It looks like
https://<host>/api/auth/sso/callback/<connection ID> - Register that URL in Allowed Callback URLs in Auth0 and delete the temporary value. Match the displayed value exactly, including the connection ID
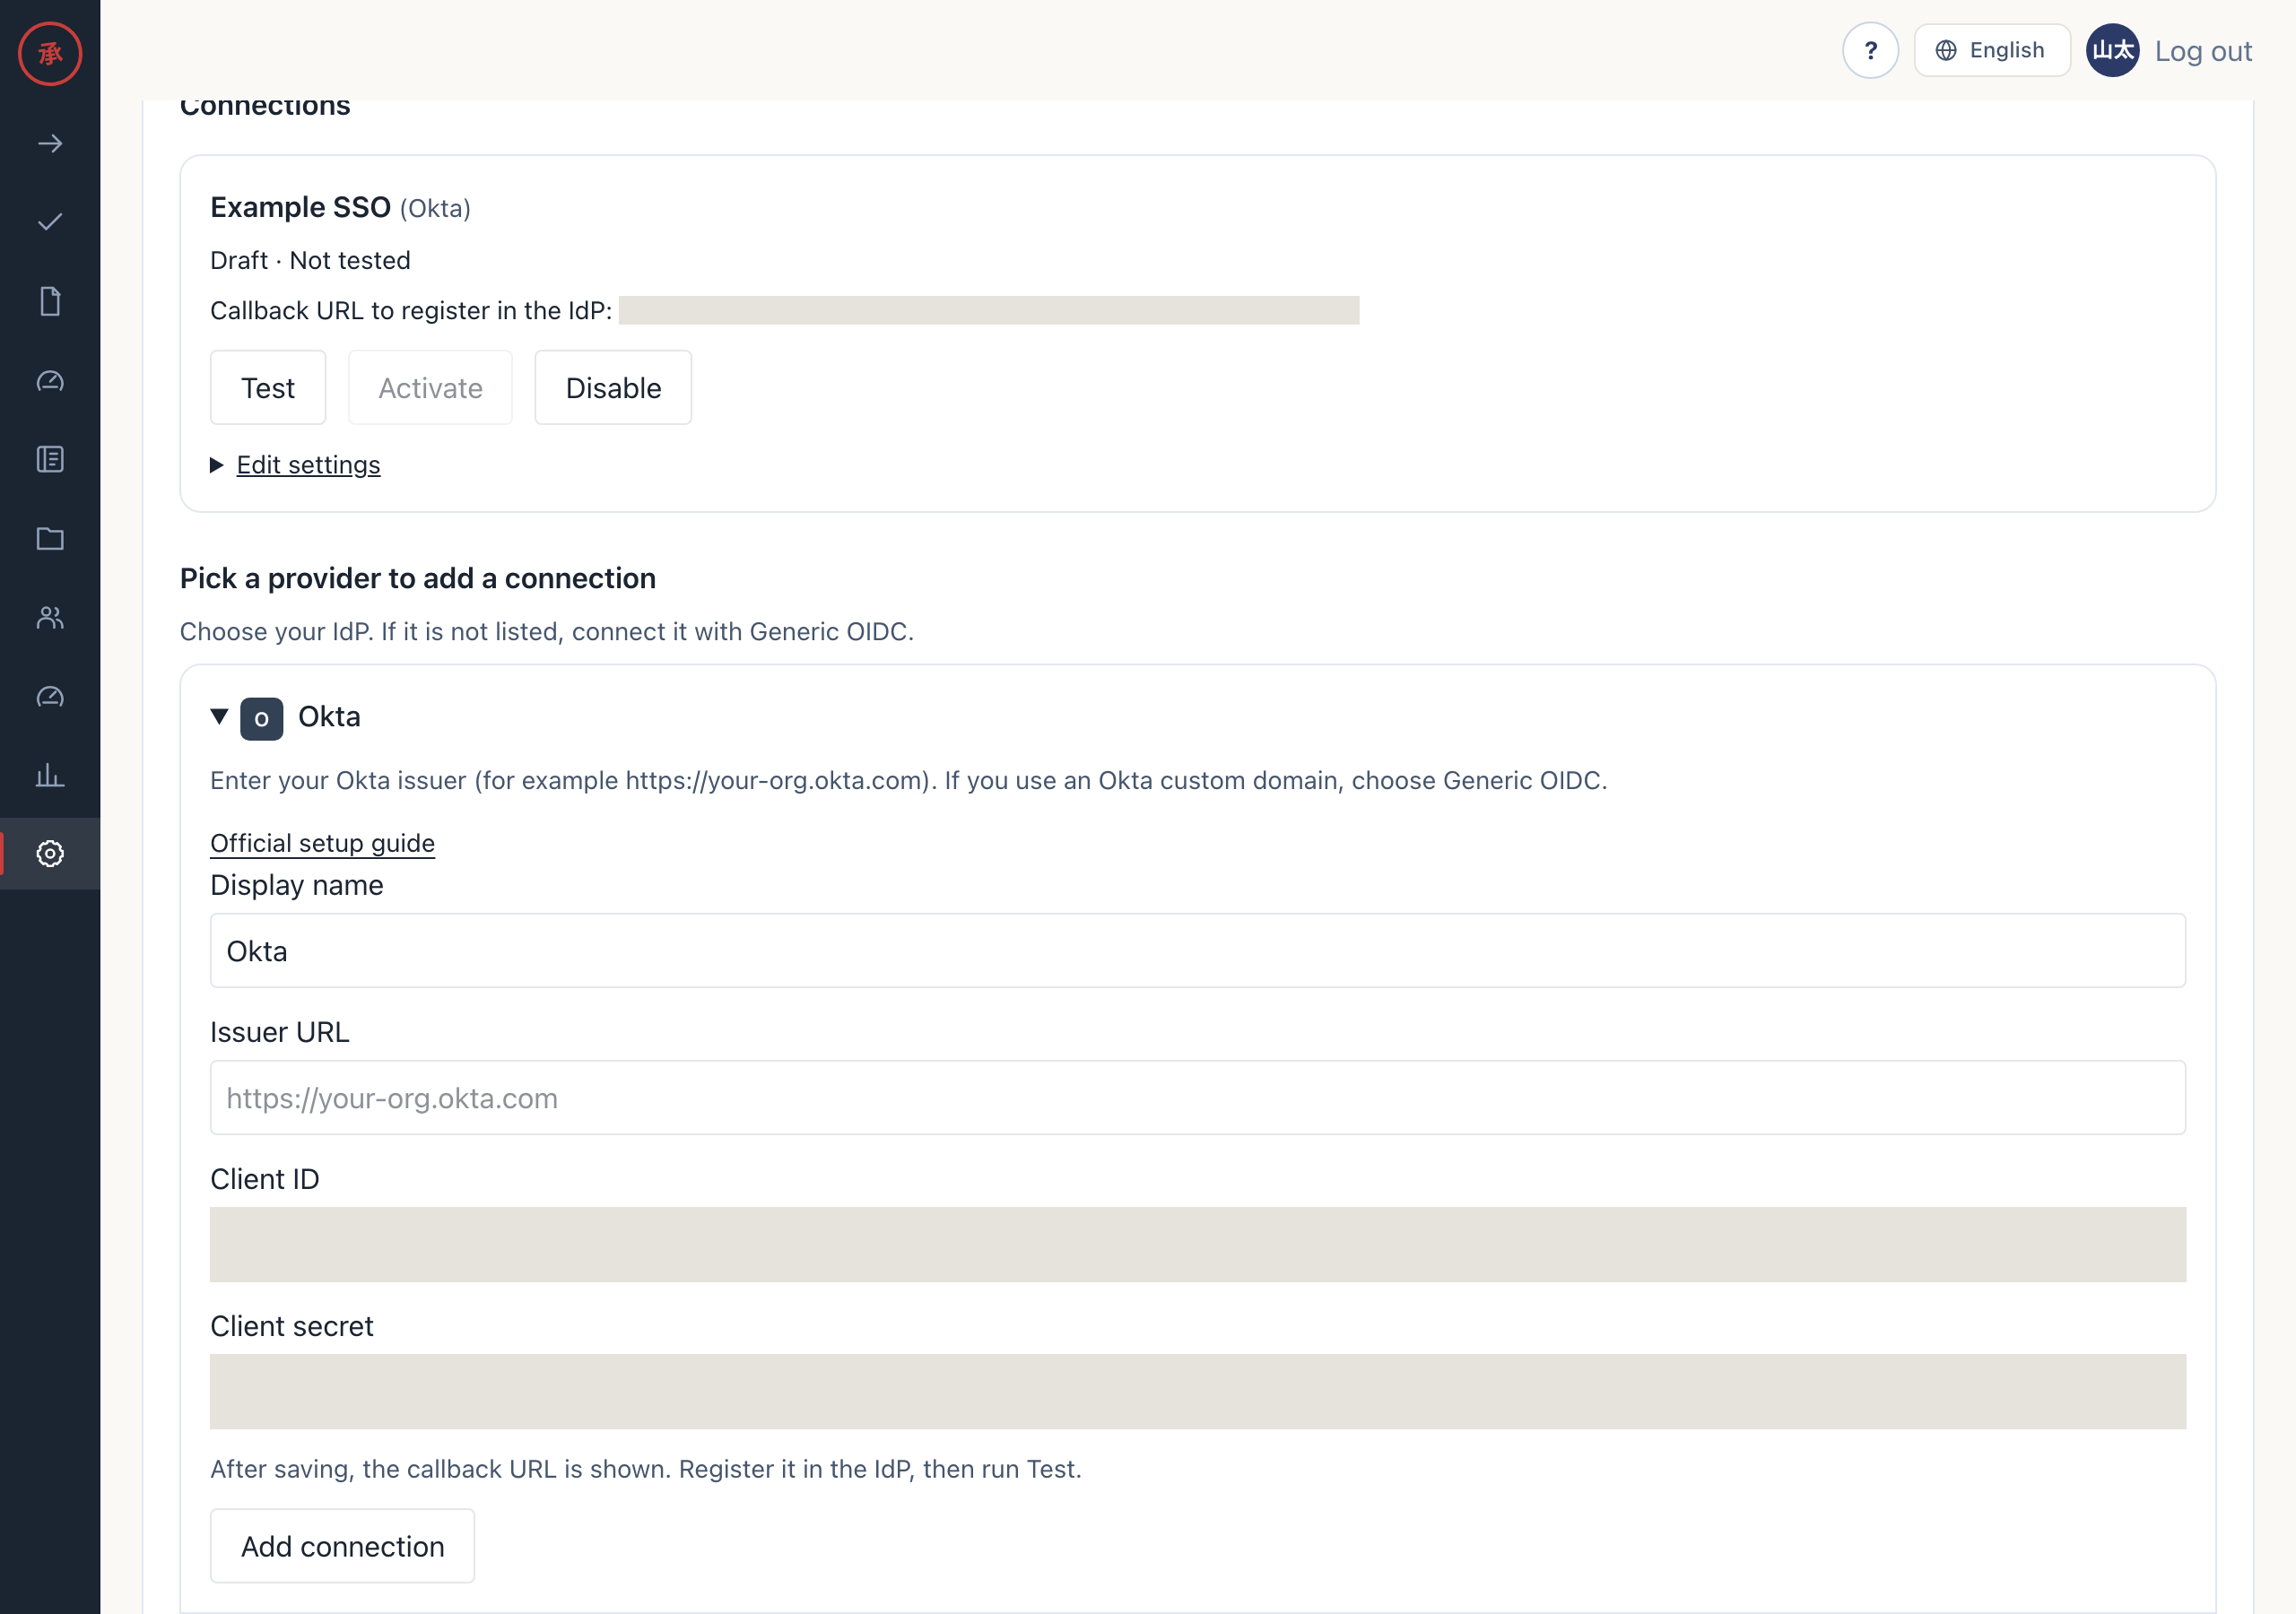
The issuer is the Domain with https:// in front and / at the end (for example https://your-tenant.us.auth0.com/). If you set up a custom domain, you can use the issuer of that domain.
After you save, the client secret is never shown again. The screen only says “Secret: set”.
3. Test
Section titled “3. Test”- Press “Test” on the connection. The Auth0 sign-in page opens
- Sign in with your own Auth0 account. You return to the settings screen, which shows “Test passed. You can activate the connection.” The connection is now marked “Test passed”
The test runs the full authorization code flow with PKCE and checks the ID token signature, issuer, audience, expiry, nonce and sub. Your admin session stays as it is. The test creates no user and links no login method. If it fails, the screen shows a reason code.
4. Activate
Section titled “4. Activate”- Press “Activate” on the connection. The screen shows “Connection activated. It is now available on the login screen.” and the status changes to “Active”
You can press “Activate” only after a test passes. Changing the Issuer URL, client ID or client secret clears the test result and returns the connection to draft.
5. Check sign-in
Section titled “5. Check sign-in”- An invited member who is not an admin opens the login screen. A button labeled “Continue with
” is shown - The member presses the button and signs in with Auth0. The Actagate screen opens
- Check that a user who is not assigned to the app in Auth0 cannot sign in
On the first sign-in, Actagate matches the email address that the IdP marks as verified (email_verified) against the invited member’s email address. Owners and admins sign in with an existing method first, then link the connection with “Add
6. Troubleshooting
Section titled “6. Troubleshooting”issuer_mismatch: the issuer does not match the Domain. With a custom domain, enter the same issuer that Auth0 discovery returnsprovider_rejected: check the URL in Allowed Callback URLstoken_exchange_failed: check the client ID and client secret
Other reason codes are listed in SSO troubleshooting.